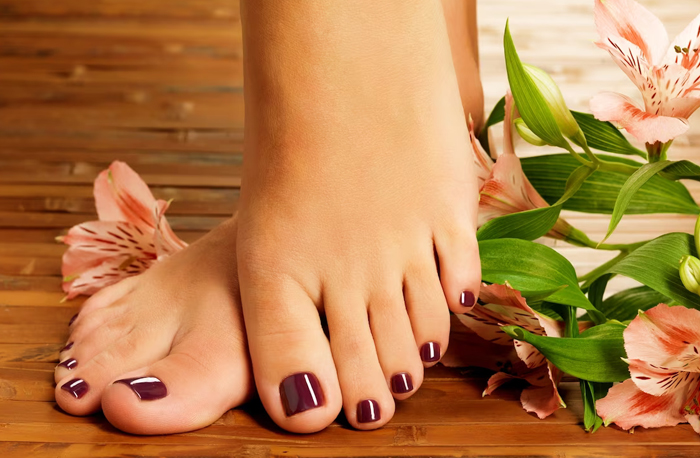
Pedicure
Who says you have to go to the salon to get a flawless-looking pedicure? With the right tools and tips, you can make your feet look fabulous at home! In this article, we’ll tell you everything you need to know about soaking, caring for, and painting those toes. So, grab your favorite nail polish and turn on your favorite music because it’s time to give your toes (and yourself) a little TLC!
Price
Gather your pedicure supplies
Before you set off on your at-home pedicure journey, make sure you have all the proper tools. (And because I know you’re thinking it: Don’t worry, we’ve got some really excellent product recs throughout this guide if you need some ideas.) You can decide how basic or fancy you want to get with your supplies, but in general, you’ll want to at least have the following:
- Nail polish remover
- Foot file or pumice stone
- Nail file and clippers
- Foot cream and cuticle oil
- Nail polish (including base and top coat)

Remove old polish
Remove any lingering polish with a cotton round and nail-polish remover. (Non-acetone is gentler, but acetone will help get any stubborn polish—like those containing pesky glitter—off more easily.) If you don’t have any cotton rounds, you can use paper towel, but this material isn’t as abrasive, so removal will require a bit more elbow grease.

Soak your feet.
If you have a foot bath, now is a good time to pull it out. Otherwise, you can fill your tub and sit on the edge.
Fill your basin with warm water and a bath soak—Epsom salt is a great choice, especially for sore feet—and submerge. Let your feet sit for five to 10 minutes to soften your cuticles, then dry one foot at a time. If you have cuticle remover at home apply around the cuticles and onto heels to help smooth rough feet and remove calluses.
Trim and file your nails
Start with nail clippers to begin trimming. Don’t worry about perfecting the edges. Then, grab your file to soften and shape.
If your heels or toes feel a bit rough, use a foot file or a pumice stone to gently smooth the skin and any calluses you might have.

Give yourself a little massage
Now, for the best part: Once both feet are dry and treated, apply a dollop of moisturizer for dry skin onto each foot. Massage your feet and toes for a few minutes—or as long as you’d like! Bonus points if you have an electric foot massager (in this case, skip the lotion!) or a partner who can help you out with a longer at-home massage.

Prep your toes
Use a cotton pad to remove any excess oily residue—this helps polish last longer. Toe separators are most convenient, but there’s a work around if you don’t have any: Simply grab a piece of paper towel and twist it into a rope, weaving it through your toes.
Apply a thin layer of base coat.
Don’t skip this step—it’s crucial if you want your pedicure to last, since the base coat is what provides a barrier between the natural oils from your nails and the polish.
Pro tip: If you’re having trouble reaching your toes, prop your leg up on another table or a chair. Just be sure to lay a towel down to prevent any spills and resulting stains on your furniture.

Apply polish
Once the base coat has dried, apply to a thin coat of your color of choice. Let dry, then apply a second thin coat of color.
If you’re having trouble painting tiny toes, try to separate them more to get a better vantage point. Putting less polish on the brush can also help keep things tidy.

Don't forget the top coat
Another crucial step to make polish last: the top coat. A thin layer of top coat helps seal everything in and prevents premature chipping. Let dry—do a touch test at 10 to 15 minutes, though 20 to 30 minutes is ideal, particularly if you’re putting socks or shoes on.